1) Another machine (PC or Mac) with Apache HTTP Server v2.2 and above installed. Should work with web server that comes with Mac OS.
2) PHP must be enabled in Apache HTTP Server.
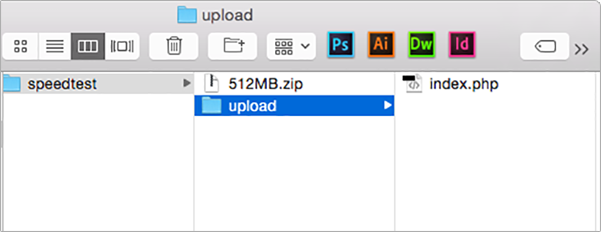
3) Under the apache webserver root folder, create a folder named "speedtest"
4) Create a file named "512MB.zip" (must be 500 MB or larger). This can be any existing file or you can create a new file.
On OS X, the file can be generated using the command via terminal app:
dd if=/dev/random of=512MB.zip bs=1 count=500000000
On Windows, the file can be generated using the command line:
fsutil file createnew 512MB.zip 500000000
OR
You can download the file from the following link:
wifiscanner.com/speedtest/512MB.zip
Once the file is generated, move it to "speedtest" folder.
Make sure file location is:
<apache-webserver-root>/speedtest/512MB.zip
5) For upload speed test:
Create a folder named "upload" inside the "speedtest" folder. Make sure path is:
<apache-webserver-root>/speedtest/upload
Download and extract the following file and put "index.php" in the "upload" folder:
index.php
Make sure path is:
<apache-webserver-root>/speedtest/upload/index.php
6) Once all setup is complete verify download via browser by navigating to below.
http://<ip-of-system>/speedtest/512MB.zip
If browser prompts to you to save the file or downloads it, then it is working correctly.
7) To verify the upload you need to use the app
8) Now in WiFi Scanner, navigate to the preferences menu to configure the custom server under the "Speed Test" options.
Enter the custom server's address with the following format:
http://<ip-of-server>/speedtest or
<ip-of-server>/speedtest
Note: If your apache is not running on default port "80", then you will have to specify port in all urls using the format:
"http:// <ip-of-server> : <port-of-server> /speedtest"
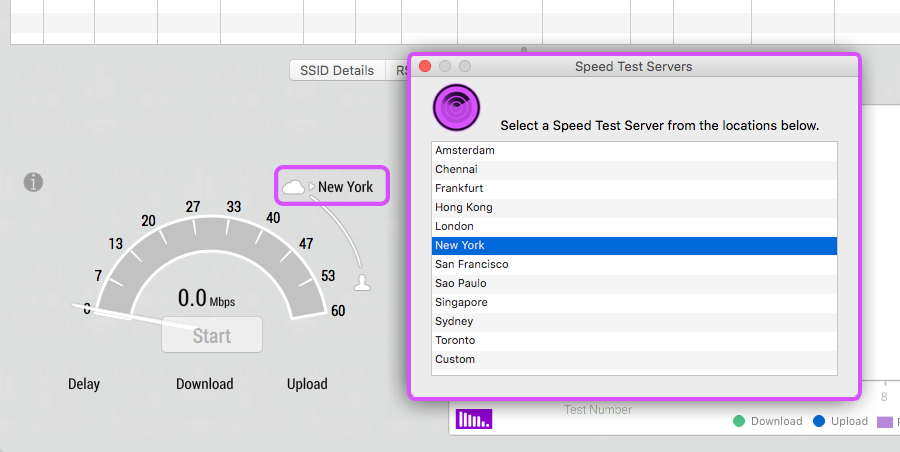
9) Finally, navigate to the "Speed Test" tab in WiFi Scanner. Click on the server name and select "Custom" from the server list.